Building a reactive calculator in Haskell (4/5)
In the last post we saw how to build a good looking GUI for a reactive calculator app. In this post we are going to implement the model of the application and connect it to the reactive GUI.
As you probably know and we discussed before, the model holds the application’s abstract representation, and offers a way to interact with it. The GUI does two things: show part of the current state of the model, in a visually appealing way, and offer a way to alter the model by applying actions and transformations to it.
The goal of this blog post is to define that model, encapsulate it in a reactive value, and connect it to the view using reactive rules. For those who are new to this blog series, the library we are using for this series is Keera Hails, which is a low-entry reactive framework written in Haskell. We will proceed top-down, first, by thinking of what the API of the model should be, second, by connecting that abstract model to the GUI, and, finally, by implementing the low-level details.
A calculator abstract datatype
In principle, the state of a calculator holds two numbers: the calculation so far, and the number currently being entered by the user. The calculator also knows the operation that is currently being applied. So, if you write 2 + 45 =, the state would evolve like this:
| Step | User Input | Text Field (GUI) | Internal memory (Model) | Current Input (Model) | Current Operator (Model) |
|---|---|---|---|---|---|
| 1 | 2 | 2 | 0 | 2 | Nothing |
| 2 | + | 2 | 2 | Nothing | + |
| 3 | 4 | 4 | 2 | 4 | + |
| 4 | 5 | 5 | 2 | 45 | + |
| 5 | = | 47 | 47 | Nothing | Nothing |
This gives you an idea of the actions we can apply to the calculator and the data it holds. We can introduce numbers, which alter the current input in the model. We can apply operators, which alter the current operator, making the calculator evaluate the result so far if there were a current input and a current operator already set. We can also apply an action, like pressing the equals button or clearing the memory.
The abstract, non-reactive interface we are looking for is therefore similar to the following:
data Calculator
data Action   = Clear | Equals

mkCalculator  :: Calculator
currentValue  :: Calculator -> Int
addDigit      :: Calculator -> Int -> Calculator
applyOperator :: Calculator -> (Int -> Int -> Int) -> Calculator
applyAction   :: Calculator -> Action -> Calculator
This is not the only possible abstract data type we can come up with. We could choose to make clearing the state or forcing evaluation also binary operations on Ints. We could also completely defunctionalize the interface and have a separate data type and constructors for the operators. Or we could collapse both Operators and Actions into the same data type. We choose this representation because it keeps the interface clean, understandable, and easily extensible, but other formulations are possible.
Our goal at this point is to make sure that our interface, as defined, can be connected to the GUI with the reactive layer we want to use. We can fill in the details later but, for now, we add a trivial implementation that makes the code compile and does not produce any errors during execution. This code will be completely replaced later for a full implementation:
data Calculator = Calculator
data Action     = Clear | Equals

mkCalculator :: Calculator
mkCalculator = Calculator

currentValue :: Calculator -> Int
currentValue _ = 0

addDigit :: Calculator -> Int -> Calculator
addDigit calc _ = calc

applyOperator :: Calculator -> (Int -> Int -> Int) -> Calculator
applyOperator calc _ = calc

applyAction :: Calculator -> Action -> Calculator
applyAction calc _ = calc
You can find a working implementation of this version of the tutorial in this repository.
Connecting the model and the view: Reactive Rules
Now that we have a working model, we are ready to replace the code in our Main with what will be our working implementation. We really only need to do two things: expose our model reactively, and connect all UI elements to the model via a reactive rule. For now, keep the definition of Model above in the same file, replacing the part of the main operation where we define the model and attach it to the view.
First, we replace the definition of the reactive model for one that uses the new abstract interface:
-- Initialize model
model <- cbmvarReactiveRW <$> newCBMVar mkCalculator
Then, we tie it all together with the necessary reactive rules. We must modify the reactive rule that connects the input text box with the model to use the auxiliary function currentValue (alternatively, we could also define a show instance for the calculator that shows the current value). The rules for the number, operator and action buttons are very similar, but need to use addDigit, applyOperator and applyAction respectively to modify the model in the expected way. Note that we must remove the pre-existing rule connecting number buttons to the model (which applied the (+) function to it).
-- Connect model and text box
inputFieldText <:= ((show . currentValue) <^> model)

forM_ nums $ \button ->
  button =:> modRW addDigit model

forM_ operators $ \button ->
  button =:> modRW applyOperator model

forM_ actions $ \button ->
  button =:> modRW applyAction model
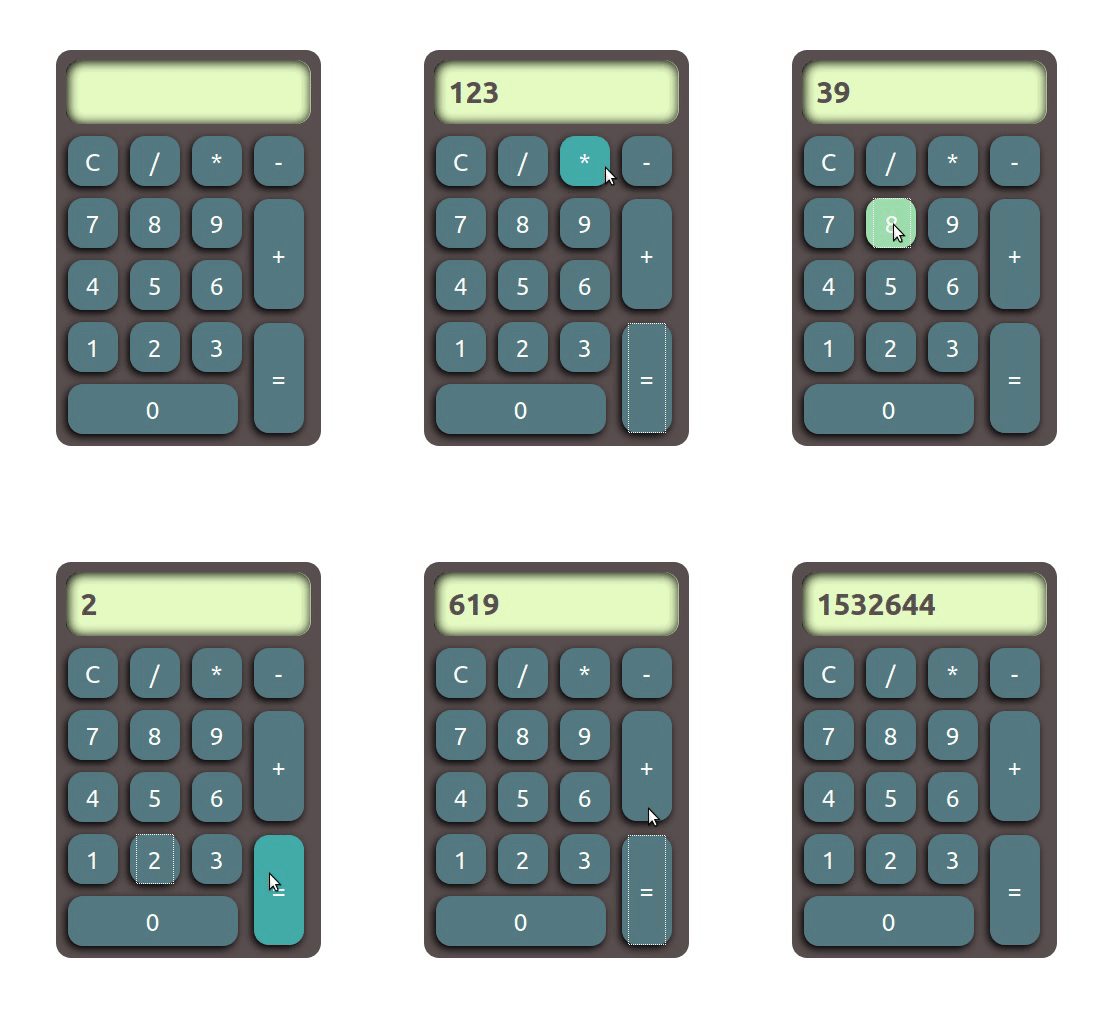
If you recompile and run now, you should have a calculator that interacts with the user, and is applying the right actions to the model, but never produces any result because the implementation of those actions was left empty.

You can find a working implementation of this version of the tutorial in this repository.
Completing the implementation
It may surprise you that we took what may have seemed like a de-tour to connect the GUI to the model first. It is often tempting to go down the rabbit hole and fill in all the implementation details but, as projects become larger, so do the consequences of making a mistake. If you fill in the function and datatype implementations and later realize it’s not the right abstraction because some interaction is not possible this way, you may have to redesign your whole datatype and re-write your implementation from scratch. By doing it this way (top-down), you can proceed to fill in the details only if and when you need it, which in the long run will waste less resources and also help you divide the work among team members (once you know the interface between the model and the view works, different team members can work on the GUI and the model implementations separately, knowing their work won’t affect the other part so long as they respect the interface they agreed to).
In this case, luckily for us, the implementation of the model is also very simple. First, we said that the Calculator had to have three fields: one for the current operator, one for the current number, and one for the calculation so far (an accumulator).
data Calculator = Calculator
  { calcValue           :: Int
  , calcCurrentInput    :: Maybe Int
  , calcCurrentOperator :: Maybe (Int -> Int -> Int)
  }
We adapt the constructor accordingly so that the code still compiles, even if nothing changes:
mkCalculator :: Calculator
mkCalculator = Calculator 0 Nothing Nothing
Next, we complete the rest of the implementations. Seeing the current value of the calculator is a tricky one. On the one hand, the calculator should tell us the result if nothing is pending to be calculated. However, if we are currently entering a new number, the calculator should show the value being entered:
currentValue :: Calculator -> Int
currentValue calc = fromMaybe (calcValue calc) (calcCurrentInput calc)
Adding a digit is straightforward, since all we have to do is add the new digit on the right:
addDigit :: Calculator -> Int -> Calculator
addDigit calc d = calc { calcCurrentInput = Just (currentInputValue * 10 + d) }
where
currentInputValue = fromMaybe 0 $ calcCurrentInput calc
The last two functions are slightly more complex. If there already is an operator being applied and a number being entered, then pressing another operator button should calculate the result so far and prepare for a new number coming in:
applyOperator :: Calculator -> (Int -> Int -> Int) -> Calculator
applyOperator :: Calculator -> (Int -> Int -> Int) -> Calculator
applyOperator calc op = case (calcCurrentOperator calc, calcCurrentInput calc) of
  (_,        Nothing) -> calc { calcCurrentOperator = Just op }
  (Nothing,  Just y)  -> calc { calcValue           = y
                              , calcCurrentOperator = Just op
                              , calcCurrentInput    = Nothing
                              }
  (Just op', Just y)  -> calc { calcValue = op' (currentValue calc) y
                              , calcCurrentOperator = Just op
                              , calcCurrentInput    = Nothing
  }
The function to apply an action is very similar, except that clearing acts differently depending on whether there is a result being currently shown or not. This replicates the behavior of some calculators where clearing once erases the current input, but not the value calculated so far, and clearing twice will erase the state completely.
applyAction :: Calculator -> Action -> Calculator
applyAction calc Equals = calc { calcValue           = y'
                               , calcCurrentOperator = Nothing
                               , calcCurrentInput    = Nothing
                               }
  where
    y' = case calcCurrentOperator calc of
           Nothing -> currentValue calc
           Just op -> op (calcValue calc) (currentValue calc)
    applyAction calc Clear = case calcCurrentInput calc of
       Nothing -> calc { calcValue           = 0
                       , calcCurrentOperator = Nothing
                       }
       Just 0 -> calc { calcValue           = 0
                      , calcCurrentOperator = Nothing
                      , calcCurrentInput    = Nothing
                      }
       Just _ -> calc { calcCurrentInput = Just 0 }
Now, all parts are complete. If you re-compile and run this example, you will have a working calculator running on your screen.

We now have a working implementation!! If you look at the full code, you’ll see that it is minimal, elegant and clear.
Although we have something we can show, completing a professional application requires adaptations to make code easy to maintain and extend, to make the application more attractive, to support multiple platforms.
You can continue with the next post in this series here.
